From this, an alternative solution can be use and this is by using FastCGI. FastCGI is an open extension to CGI that provides high performance for all Internet applications without any of the limitations of existing Web server APIs
FastCGI allows the host CGI process to remain alive after one request finishes so that the process may be reused for another request giving out good performance and stability.
Here are the step-by-step procedure on how this is done:
Softwares involve:
1. IIS 6.0
2.php (ver 5.2.11 zip package)
3. fastcgi
4. Windows Server® 2003
Steps:
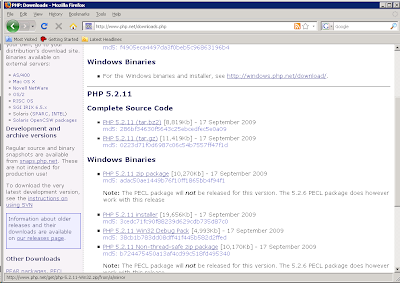
1. Download the php Windows binaries in zip package on http://www.php.net/downloads.php. It is recommended to use the zip package because it includes greater functionality and extensions.
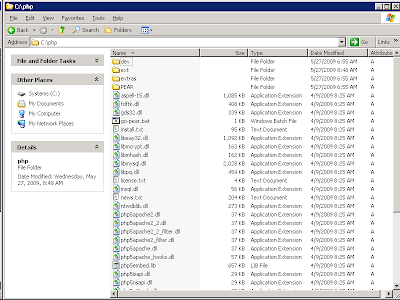
2. Unzip the php package, preferably on c:\php
3. Download the FastCGI extension thru http://www.iis.net/extensions/fastcgi. Select the proper file depending on your machine architecture. On this tutorial, we will be downloading th X86 package.
 4. You will be ask to download "fcgisetup32.msi".
 5. Double click the installer and a welcome screen will be prompted. Click Next.
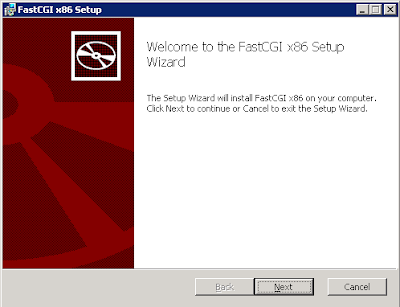 6. An End-User License Agreement will follow. Put a check mark to accept. Click Next.
 7. Click Install to being the installation process.
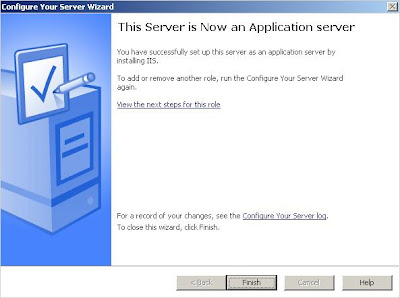
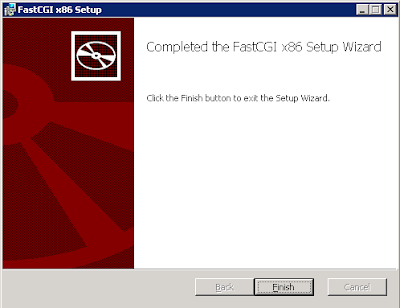
 8. A successful install will look similar on the diagram below. Click Finish to close.
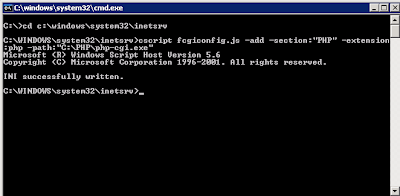
 9. Configure the FastCGI extension to work with PHP. The configuration script with the name "fcgconfig.js" is provided with the installation of FastCGI extension and can be found in %WINDIR%\system32\inetsrv.
To configure FastCGI extension to work with PHP, you need to open a command line and execute the following command:
c:\> cd c:\windows\system32\inetsrv
c:\> cscript fcgiconfig.js -add -section:"PHP" -extension:php -path:"C:\PHP\php-cgi.exe"
BTW, it can be done per site, you just need to specify the website name, such as:
c:\> cscript fcgiconfig.js -add -section:"PHP" -extension:php -path:"C:\PHP\php-cgi.exe" –website:1
 10. Create script mappings on the IIS for your PHP extension.
a. Open IIS manager
b. Double click the machine name, and under Websites, look for the website name. Right click then click Properties.
c. Go to "Home Directory" tab
d. Click "Configuration" button and click Add.. button
e. Browse the fcgiext.dll located in %WINDIR%\system32\inetsrv.
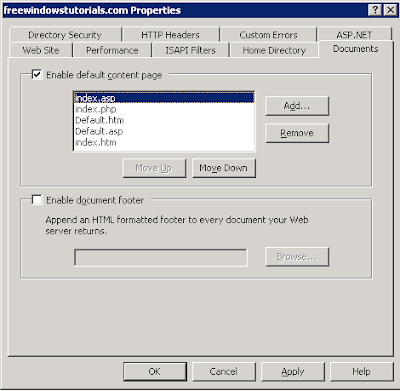
 11. Go to "Documents" tab and click Add. Add index.php
 12. It is now ready to serve php applications. You can test it by creating a phpinfo.php file.
13. Browse phpinfo.php and you should see similar output below:


